Martin Lawrence Photography
How to take photographs in the snow
Posted on 24th January, 2019
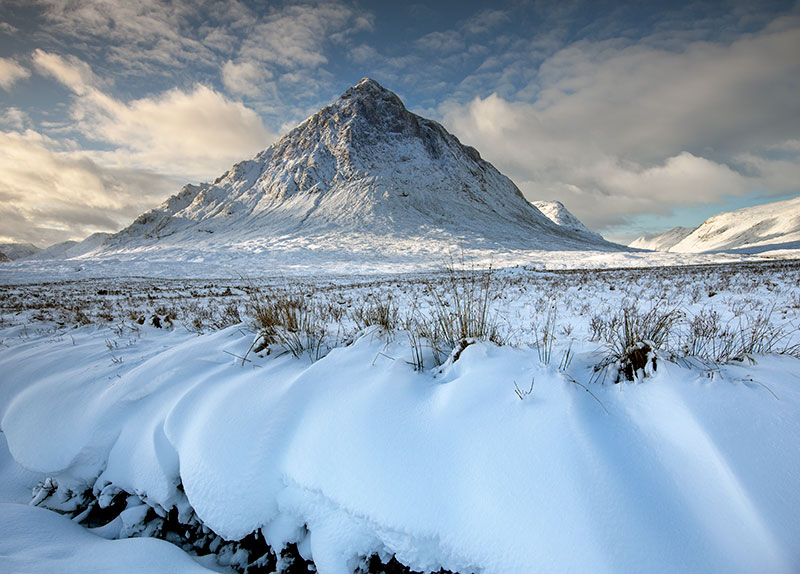
Image: Buachaille Etive Mor surrounded by snow Prints Available
If, like me, you wait all winter for snow to arrive make sure that when it does you are ready with a plan of action and that both you and your camera are well prepared before you step out into the white stuff.
Keep your gear and yourself warm
It’s going to be cold out there and slippery underfoot, so make sure that you are wearing warm and waterproof footwear, warm clothing and particularly warm gloves. I prefer the variety of gloves that have flip top fingers with little magnets to hold them open. These allow you access to the knobs and dials on your camera without having to remove your gloves fully all the time.
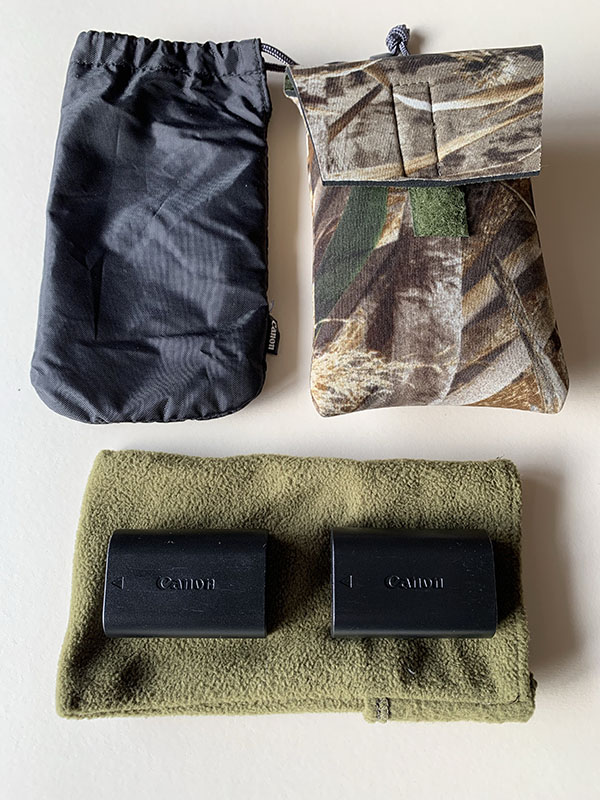
You will need to keep any spare batteries that you have warm. I use some small insulated pouches for this, but if you don’t have these, tuck them under layers close to your body. Batteries drain very quickly if they get cold.
In between locations, keep your lens cap on and your camera in its bag.
What gear should you use
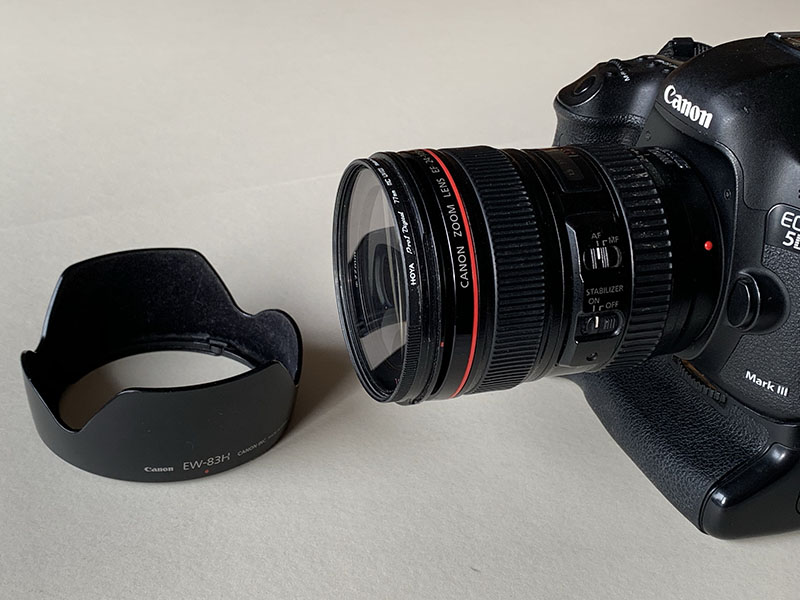
Choose a zoom lens with a decent range of focal lengths that you can use for all your shots. Try to avoid using a variety of fixed length lenses that you will need to be changing all day, especially in the warmth of your car, or you will almost certainly end up with condensation trapped inside your camera body or on your lenses. Make sure that you carry a good supply of microfiber cloths to clear off the condensation if your lenses do fog up.
If you are not using graduated neutral density filters, make sure that you take your lens hood along with you to reduce lens flare created by the bright snow. Using a polarizing filter can also help to reduce glare.
If the snow is wet rather than dry then consider using a rain cover. Check out my Tips for shooting in the rain for advice on choosing one of these.
What camera settings should you choose
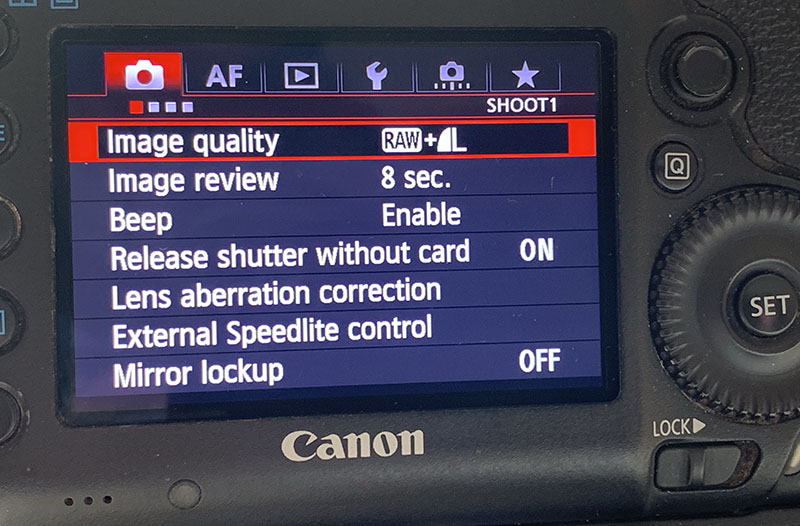
Set your camera to shoot in RAW. (Or, as I prefer, in both RAW and jpeg to speed up the image selection process during editing.) Shooting in RAW will allow you more control in the editing process, especially when making changes to your white balance, should you need to adjust this.
Shoot in Aperture Priority Mode to control depth of field and allow you to dial in exposure compensation.
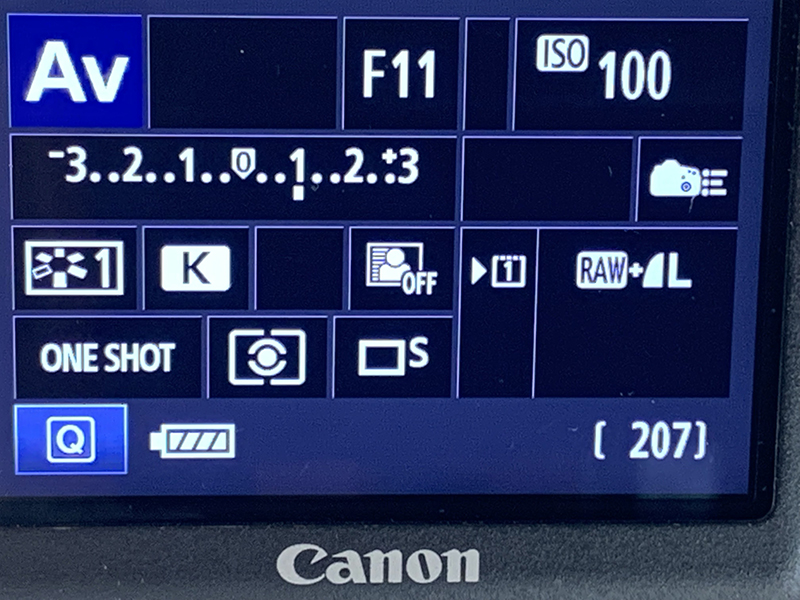
When using evaluative metering (Canon), or matrix metering (Nikon) there will be a tendency for the camera to underexpose and make the snow look grey. This is due to the majority of your image being so bright that it is tricking your sensor to shoot on a faster shutter speed. To avoid this, dial in +1 or +2 stops of exposure compensation. Check the results on your histogram regularly and adjust your exposure compensation as necessary. Don’t rely on what you see on your camera’s LCD screen, as this can be difficult to see in bright conditions.
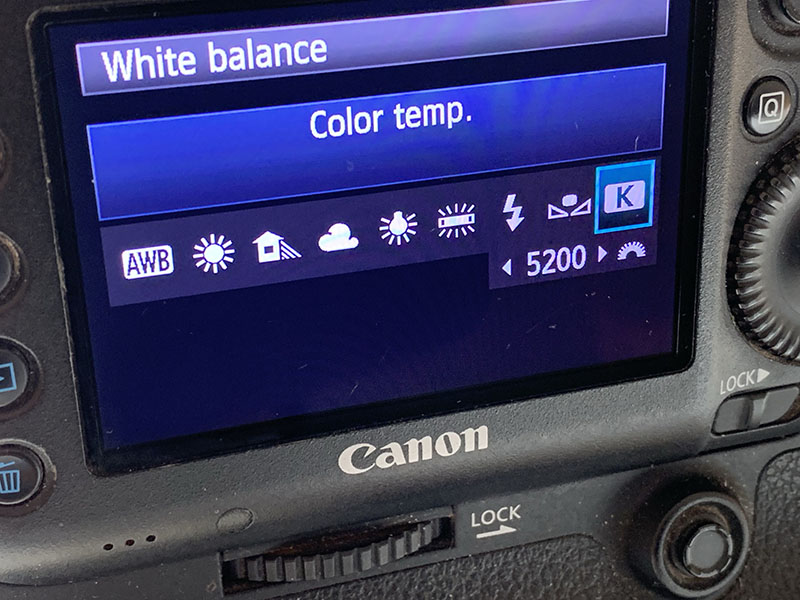
Getting your white balance right
Snow tends to read on the blue side of the colour spectrum and it can be tricky to try and correct this in camera. What I try to do is use the K Setting in White Balance starting with a value of around 5,200 on the Kelvin scale. You can then fine-tune this to obtain the overall temperature you want instead of using one of the widely spaced pre-sets. A word of warming though, be careful not to end up with snow that is on the orange side of the colour spectrum by adjusting this figure so that it’s too high. If you don’t get this quite right, you can easily adjust this in Adobe Camera RAW in Photoshop.
Composition
If you want to capture snow that is free from footprints, you need to get up early and to plan which photos you’re going to take, and what order you’re going to take them in. If you visit a venue like Castlerigg Stone Circle make sure that you get your wide panoramic shots before you go in close to take your shots of the individual stones or you’ll be photographing your own footprints. In the main, pristine snow is what you are after. A single set of footprints going off into the distance though can make for a great lead-in line to your shot.
Taking images of vast areas of white snow with nothing to break them up can lead to a drab and disappointing image. Make sure you find something you can use as a contrast. This can be a colourful sky, the brightly coloured jackets of fell-walkers, a painted building or the blue waters of a lake. Winter foliage that has turned orange can also make a great contrast, as can reeds alongside a lake or stream.
If it actually starts to snow whilst you are shooting you have two options for capturing images. You can: -
- Adjust to a faster shutter speed to try and capture individual snow flakes or
- Adjust to a really slow shutter speed to blur the action.
Remember that the light can change very quickly in the winter months so work quickly and make sure that you keep all your images for later viewing. Don’t discount anything you’ve taken before you get home.
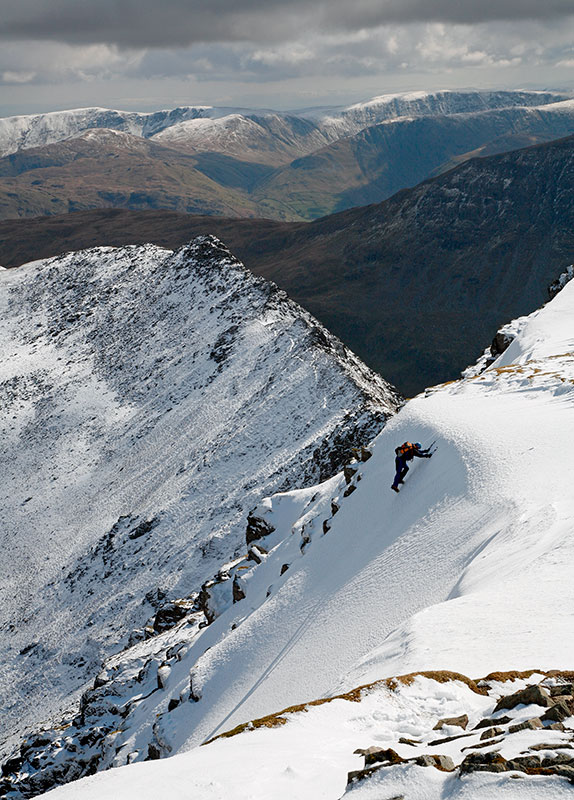
Image: A winters climb on Helvellyn Prints Available
Conclusion
We don’t get many snow falls in the UK so, when we do, make sure that you are ready by knowing the best places to visit to achieve your desired compositions. Be confident on what gear you are going to pack and have a plan of action. Following these tips should ensure that you get the best images that you possibly can to boost your all-seasons portfolio.
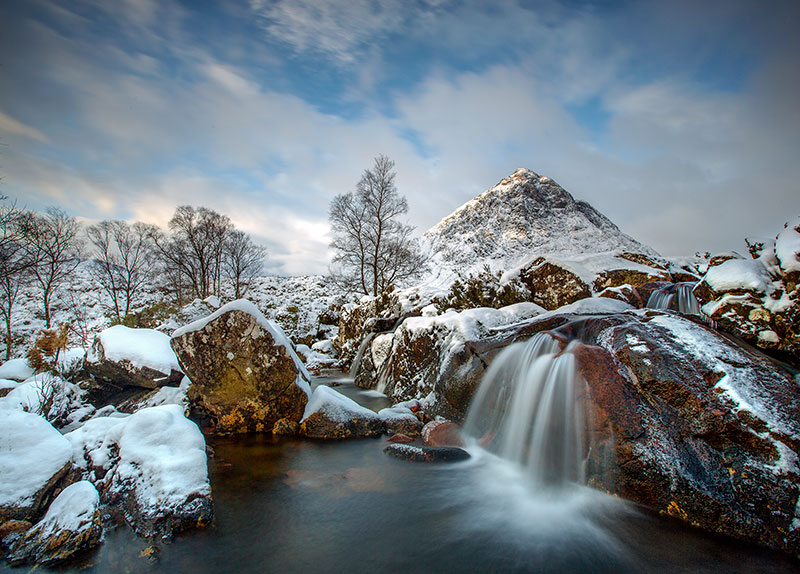
Image: River Coupall waterfall and Buachaille Etive Mor Prints Available
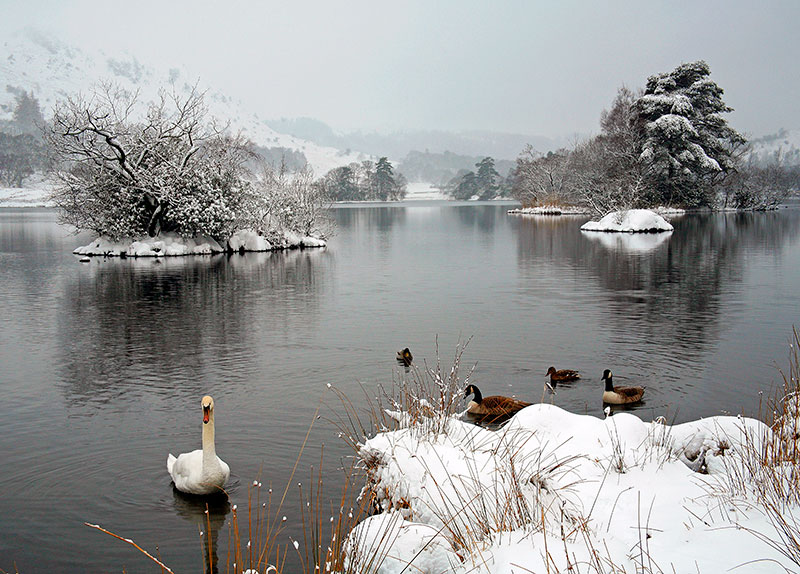
Image: Swan Lake at Rydal Water Prints Available
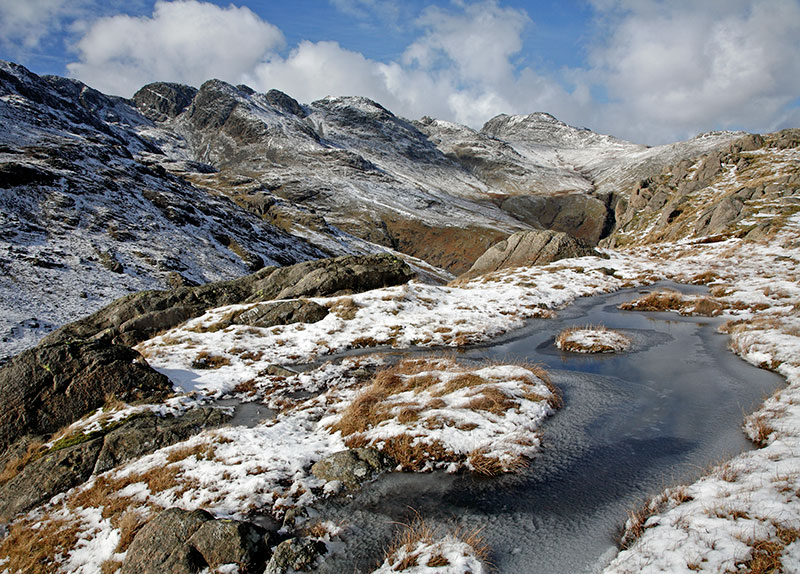
Image: Crinkle Crags and Bowfell from Great Knot Prints Available
All text and images © Martin Lawrence Photography 2019
